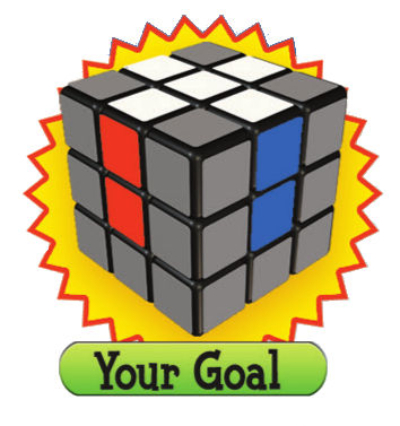
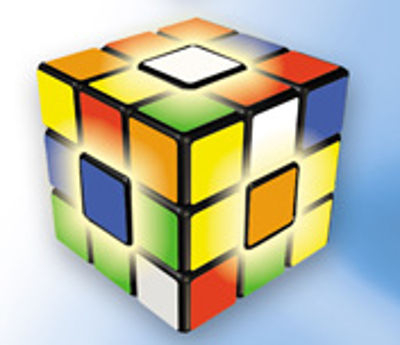
In the name of God, I am the Messenger of Mohammad. Now I want to teach you a solution and a way to build a Rubik's line.
We have different rooks. It is divided into two categories of pair of Rubiks and Rubik's. (Like 2 * 2 * 2, 4 * 4 * 4 and face-to-face rubrics such as 3 * 3 * 3 and 5 * 5 * 5), which we also want to see here is the famous 3 * 3 * 3 Rubik, There is training
There are many solving methods for this robin that we want to teach the easiest method or method beginner which can only solve the Rubik by keeping 6 formulas. While the other methods are much more difficult and the number of formulations that should be maintained in this way, it is very low and these methods are more commonly used for professional people and women's registration and participation in the tournament. Meanwhile, this tutorial for all of these methods is a knowledge of the Rubik's alphabet and the beginner's method that we want to teach here.
Individual Rubik's, including the 3 * 3 * 3 Rubik, understand the color of the creator.
For example, in the picture below, the center point is the center of the yolk, so all the points in that page should be yellow in the end.
Couple Rubiks, Rubik's Cube Video Tutorial
Rubik alphabet:
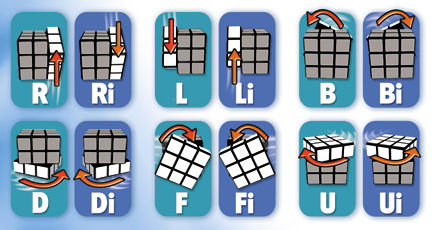
As you can see in the figure below, move left to right upward, and vice versa, move to the right down to the bottom of Ri.
That's from this to the next. I've been teaching somewhere, Ri means moving left and right down. And we are displaying letters in the training of all movements. And you must first learn the good Rubik's alphabet
Couple Rubiks, Rubik's Cube Video Tutorial
And to move the left front to the bottom of L and vice versa, to move left upwards.
Couple Rubiks, Rubik's Cube Video Tutorial
Move to the top left of U and vice versa Ui.
Couple Rubiks, Rubik's Cube Video Tutorial
Move down to right D and reciprocate.
Couple Rubiks, Rubik's Cube Video Tutorial
Front and rear dial F and F focus.
Couple Rubiks, Rubik's Cube Video Tutorial
Please go to the next section to get started
Rubik's Solution:
So now that we've learned the Rubik's alphabet, we're going to look for a Rubik's solution.
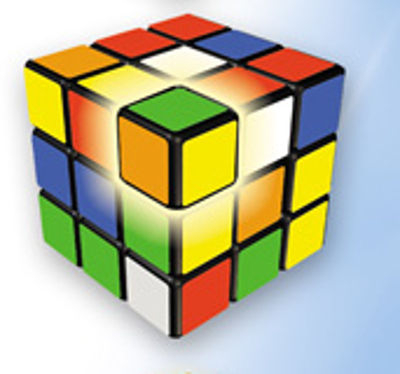
In this method, it does not matter which color you want to start, select the color you want to start first. Here we start from yellow. First, we need to make it in the same way as the yahoo blava so that the colors are in the same colors as the central colors. (It is shown in the figure below that we made a yellow creature with water and orange with central colors and this should happen on the four sides of the cross)
This section has no formulas. And it's not hard to do just that, just practice a little bit to get to know all the Rubiks and make it easy to build. (In each movement of each piece that is placed, 6 moves that, by combining the movements we need, the parts of this section and each of us must be true to the cross.
Just in order to make a piece, another piece we had already made it was ours, and apart from this way, there was no other way to sort it ... when we take that annoying piece to the left or right, And after that the correct piece was made, we also sent it to Josh's head.
This part is a little workout. As soon as we get to know Rubik, but then it's easy.
Couple Rubiks, Rubik's Cube Video Tutorial
Later you need to make corners so that the first layer is perfectly fine.
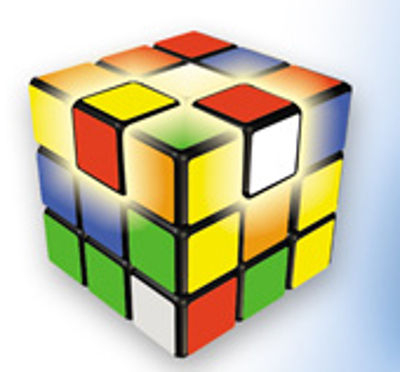
To do this, select a corner from the same layer as the classic one. And from the nearby centers, we'll identify the piece to be put there. (For example, in the image above, you can place the corners that are in front of us. From adjacent adjacent centers, specify that you should look for the blue-orange-yellow polarity.)
After finding the desired piece, we need to find it and move it below it. And the robin is tinted to the left of the piece. (Sometimes it happens that the piece is in place, but the place where it is not necessary in this case is to lower the piece and just have to go to the left.)
As shown below, a blue-orange-yellow piece is located on the right and bottom. (Of course yellow is not known)
Then use the formula: Ri Di R D to get the right corner. And so complete the first layer.
Couple Rubiks, Rubik's Cube Video Tutorial
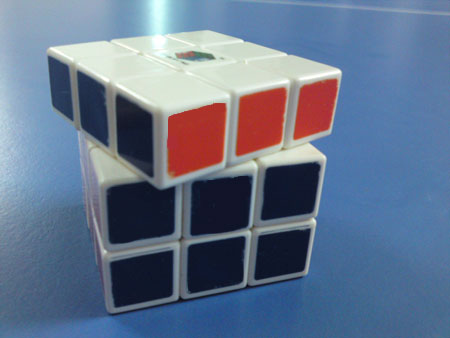
After creating the first layer, we reverse the rubik so that the layer above is passed down (as shown below)
Couple Rubiks, Rubik's Cube Video Tutorial
Since all the second layer of the second layer is correct, we can complete the second layer by creating parts of the centers.
First we need to find one of the pieces between the two centers. If this piece is in the second layer, let's drop it now and go to another piece. After selecting the right piece with several movements, we make one of the colors of this piece identical with the colors of one of the centers. Make the right color in front of you and create the right-turning formula or the circle formula to the left of the desired piece.
And if all the pieces are fitted in the second layer or after making a few pieces, one or more pieces are placed in the wrong place in the second layer and we could not go to another part, Bring the right or left right-side formulas to a second layer that is related to the second layer to move the desired piece to the third layer.
For example, in the case of a missing piece


